Showing posts with label ELA. Show all posts

Sunday, April 28, 2019

Leader of the Day: 10 Steps to Strengthening Oral Language and Early Writing Skills

Last year, I had the pleasure (most days anyway) of teaching on-call in Greater Victoria School District while attending University of Victoria.  It was tough for the first month or two, but then I built up a collection of fantastic schools that I taught in regularly and I began to love the variety of classrooms, children, and assignments.  A favourite classroom of mine to teach in was Karen Higginbotham's Kindergarten/Grade 1 classroom at View Royal Elementary.  A day spent in Karen's classroom (and many of the others I taught in) provided wonderful professional learning and a wealth of fantastic ideas that I was itching to try out in my own classroom. This blog post is dedicated to one of my favourite activities from Karen's K/1 program and how I've adapted it to my Kindergarten practice at Oak Lake Community School: Leader of the Day.

Leader of the Day is a terrific ELA activity for helping children get to know their peers, so I decided to introduce it at the start of the year.  As well as strengthening the classroom community, this learning activity promotes oral language skills, numeracy skills, and early writing skills.  How did Leader of the Day look in Kindergarten at the start of the year?

1) Choose a leader of the day: our leader of the day was also our special helper (line leader, handing out papers, leading activities, etc) and was selected as part of morning calendar.  I like to use SMART Notebook's random word selector programmed with all the students' names to randomly choose a student.

2) Name recognition: the leader of the day printed their name on a special SMART Notebook slide and we named each letter. Using the magnetic letters tool in SMART Notebook, the student spelled their name a second time.

3) Developing questioning skills:  Little people have a difficult time telling the difference between a question and a comment, so this was our first challenge to overcome.  Once my students understood how to ask the leader of the day a question, we worked hard on formulating interesting questions rather than the standard favourite colour, favourite toy, and food.  I encouraged the students to ask questions with a numeracy focus, such as: how many people are in your family? How old are you?

4) Developing a concept map about the leader of the day:  the leader of the day sat at the front of the room and called on students to answer their questions.  As the we found out new facts about the leader of the day, I recorded this information in a concept map using SMART Notebook.  I tried to include a visual with each fact to assist students in "reading" the information later.

5) Paying attention to details: after the concept map was completed, the leader of the day stood up on one of my wooden stump chairs and we studied their physical appearance.  We talked about hair colour, eye colour, and the clothing the student was wearing.  I emphasized how important it was to observe the student closely so they could create an accurate picture.

6) Setting criteria: we created a list of what made a great picture.  Criteria included relevant body parts (such as head, neck, ears, arms. hands/fingers, legs, feet, etc) and using the correct colours.  We talked about how our pictures needed to be big (take up the page), bold (use at least three different colours), and beautiful (include many details).

7) Drawing the student:  we used a template to draw a picture of the leader of the day with a large space for the picture, with room for writing below.  Once the picture was completed, I encouraged students to print any relevant words, including the leader's name and their own name.


8) Editing as a group: once the pictures were finished, we came together as a group and looked at everyone's pictures.  Referring to our criteria, I modelled providing feedback to peers as I held up each picture.  I'd say things like, "Did you notice how Sam drew Gabe's eyes and coloured them the perfect shade of blue?" or "I noticed that Grayson doesn't have any fingers.  Next time, make sure you give Grayson five fingers on each hand."  After we reviewed all the pictures, I returned them to students and encouraged them to add or make changes.

Peer editing:  after a couple of weeks, students were familiar with how to give and receive feedback.  We started working in partners to give feedback to each other and make changes to our art work.  I shared the idea of "Two Stars and a Wish" (two things that your friend has done really well and one thing that they might add or change) and it worked beautifully.  I noticed huge growth in the students' art work and observation skills.

9) Portfolios:  once students were happy with their pictures of the leader of the day, we photographed them and uploaded them to their Seesaw accounts.  Parents were really responsive and commented frequently!

10) Book creation:  Each leader of the day received their own stapled booklet of all the drawings of them with the concept map as the cover sheet.  Students loved to look at all their friends' drawings of them and share with their families at home.  Pictures could also be photographed and included in a digital book, using a tool such as Book Creator.

This first cycle of leader of the day lasted about two months in our classroom, and during this time I noticed tremendous improvement in students' abilities to ask "good" questions, draw accurate and detailed pictures, print names and words, and provide and receive feedback.  Leader of the Day was an excellent activity for the start of the year, and I plan to revisit it for the last two months of Kindergarten--won't it be fun to compare the concept maps from the beginning and end of the year for each student?  This time, in addition to drawing pictures, we will focus more heavily on printing words and sentences about the leader of the day.  To give this activity a new twist, I'm considering using Skype to include leaders of the day who aren't in our building.  Wouldn't it be exciting for students to have the opportunity to ask questions to someone they admire and create a final product to share with them via technology?

In Karen Higginbotham's K/1 classroom, her Grade 1 students wrote paragraphs about the leader of the day and drew a picture as well.  Additionally, she included other adults in the school as leaders of the day, such as the principal and custodian.  The principal was the leader of the day when I was teaching, and it was such a wonderful way for the students to get to know him better.

Leader of the Day is a fun and simple activity that can be adapted to suit your students' age and learning needs.  If you decide to try it out, I'd love to hear how it went!

Wednesday, September 24, 2014

The Pigeon Has Landed in Senior Kindergarten

As we regularly Skype with Mrs. Obach's Grade 1 class (now her Grade 2 class as she has looped with this fabulous bunch of learners), we knew that they were passionately interested in reading Mo Willems' pigeon books. When they decided to write their own pigeon books in the style of Mo Willems', we followed with interest and learned alongside them as they investigated copyright rules for using an author/illustrator's character. We were excited for them when they were granted permission by Mo Willems to create their own pigeon stories! And talk about great digital citizenship at a young age...they actually contacted Mo Willem's publisher to find out if they could draw and write about his characters!

Our first day of senior kindergarten began with one of our Grade 2 friends sharing her pigeon story, and with that the pigeon craze came home to roost in Oak Lake Community School's senior kindergarten program! Since the first day, we have enjoyed one or two pigeon stories each day from our Grade 2 guest authors via Skype, and we've adapted the project to suit our kindergarten interests and abilities. Here's what we've been up to!

Reading and exploring: we've read every single one of Mo Willems' pigeon books MANY times. We've examined how the author uses speech and thought bubbles, hearts, different kinds of text, and punctuation. We've watched a number of YouTube adaptations of Mo Willems' books...some definitely better than others. This one is our favourite!

We also graphed our favourite Mo Willems' pigeon title on the SMART Board. Here's the slide if you'd like to use it.

Learning to use speech and thought bubbles: after discussing the speech and thought bubbles in Mo Willems' books, I taught a mini-lesson on why and how to use speech and thought bubbles in writing. To make it more fun, we added speech bubbles and used different kinds of text (and hearts) to a few pictures of us.
speech bubbles_1

http://kinectingclassrooms.files.wordpress.com/2014/09/speech-bubbles_2.jpeg

Drawing the pigeon: we visited Mo Willems' site and found this tutorial to learn to draw the pigeon. We went through it step by step, and I could NOT believe how well my students did! By the second time we drew the pigeon, we had some fantastic artwork! Wow!
20140923_214936000_iOS

Publishing our first book online: Next we took all of our pigeon drawings and organized them into a book. We developed a simple story together and I used speech bubbles to caption each picture. Our first attempt is very rudimentary, but the kids love our first book, "Don't Let the Pigeon Go to the Ice Cream Store" and we've read it many times!

Don't forget about the duckling: next the students insisted that we learn to draw the duckling. We explored a few tutorials on YouTube, but eventually just referred to Mo Willems' illustrations. The results were equally impressive, and we had a gallery walk to share our work!
20140919_155912298_iOS 
20140919_160333660_iOS

Authoring our own stories: now that we are proficient in drawing the two main characters, the duckling and the pigeon, we investigated how an author develops a story. Today we focused on beginning, middle, and end, and examined each pigeon book. To develop our understanding of beginning, middle, and end, we watched a great video on Discovery Education Canada, Discovering Language Arts: Beginner Writing--the segment on beginning, middle, and end was simple and appropriate for kindergarten kids! We also viewed Brain Pop Junior's video on plot. It contained a ton of useful information, but it was a little too advanced for my little ones. However, we did recommend it to Mrs. Obach's Grade 2 class!

Setting up our writing centre: now that we are eager to develop our own pigeon and duckling stories, we wanted to have a special place in our classroom to do so. Today we set up our writing centre. We've included these supplies so far: blank booklets for writing stories, clipboards and paper, writing materials (markers, pencils, crayons, erasers), and an alphabet linking chart. We were eager to get started during centre time today!
 photo-4
What are our next steps? Well each of us is excited to create and author our own duckling and pigeon book to share with the class. But I'm interested to take it a step further...the Windows App store has launched a new app called Chekhov Story Author that I'd love to try....creating our own eBooks in kindergarten? Why not! Even better if we could narrate the story to match our drawings!
We'll keep you posted!

Wednesday, January 23, 2013

Differentiating with Skype

While curling last night in our local bonspiel, my friend and colleague, Leah Obach, and I were discussing lesson plans for the upcoming day.

As you can see from the above Photobooth picture, we are not the most serious curlers on the ice!

Leah mentioned that she was teaching a lesson on -all and -ight words the following day. I replied that one of my K guided reading groups had just read the book "Balls" and worked on -all words as well. It didn't take us long to decide that my guided reading group should skype into her classroom to participate in the word sort lesson.
It was an exciting morning in the K room. Half of my class worked on letter and number printing with my EA while the remaining students skyped in to Mrs. Obach's class. We debated the merits of using SMART Bridgit so that the word sort could be truly interactive, but decided against it. Often we experience a delay with it, and the size of the web cam picture is very small. Instead we used the screen share feature in skype with one of Leah's special helpers moving the words for us when it was our turn. Leah did a quick mini-lesson on -all and -ight words, explaining how they rhymed with each other. She also discussed how to decode them by using the rime that we knew and adding the new sound on the front. Each classroom took turns reading and sorting words.
 I was so proud of my senior kindergarten students. They had no problem keeping up with the Grade 1s, and capably read both -all and -ight words. The level of engagement was high during the 15 minute call, and no reminders were needed to keep boys and girls on task. Mrs. Obach led the activity, while I occasionally prompted and encouraged my students. Once the call ended, my guided reading group showed the rest of my K class how to read and spell -all and -ight words, creating this slide on the SMART Board.
I was so excited to see how well Skype worked as a tool to provide differentiation to the learners in my K class. By using technology to connect a small group of my K students with a Grade 1 class, my boys and girls were able to participate in a learning experience that was at the perfect level for them. They were then able to apply their learning and teach the concept of -all and -ight words to the other students in my classroom. Ultimately, it is our goal that students will be able to engage in these Skype learning experiences with minimal adult guidance.

Monday, May 14, 2012

Alpha Bags: Simple and Effective!

Since attending a kindergarten workshop several years ago (Jana Oleson, 2009, Brandon Teachers' Association LIFT Conference), I have been using alpha bags to provide additional practice with letters, their sounds, and objects that begin with that sound. They're very simple and effective, and kids and their families love them! Here's how alpha bags work:
-parent letter explaining alpha bags
-I create 26 bags (one for each letter of the alphabet) as well as sh, ch, and th
-a large freezer bag is used. Each bag contains the following items: Letterland flashcard, a PM letter book, and a foam letter that pops out for tracing.

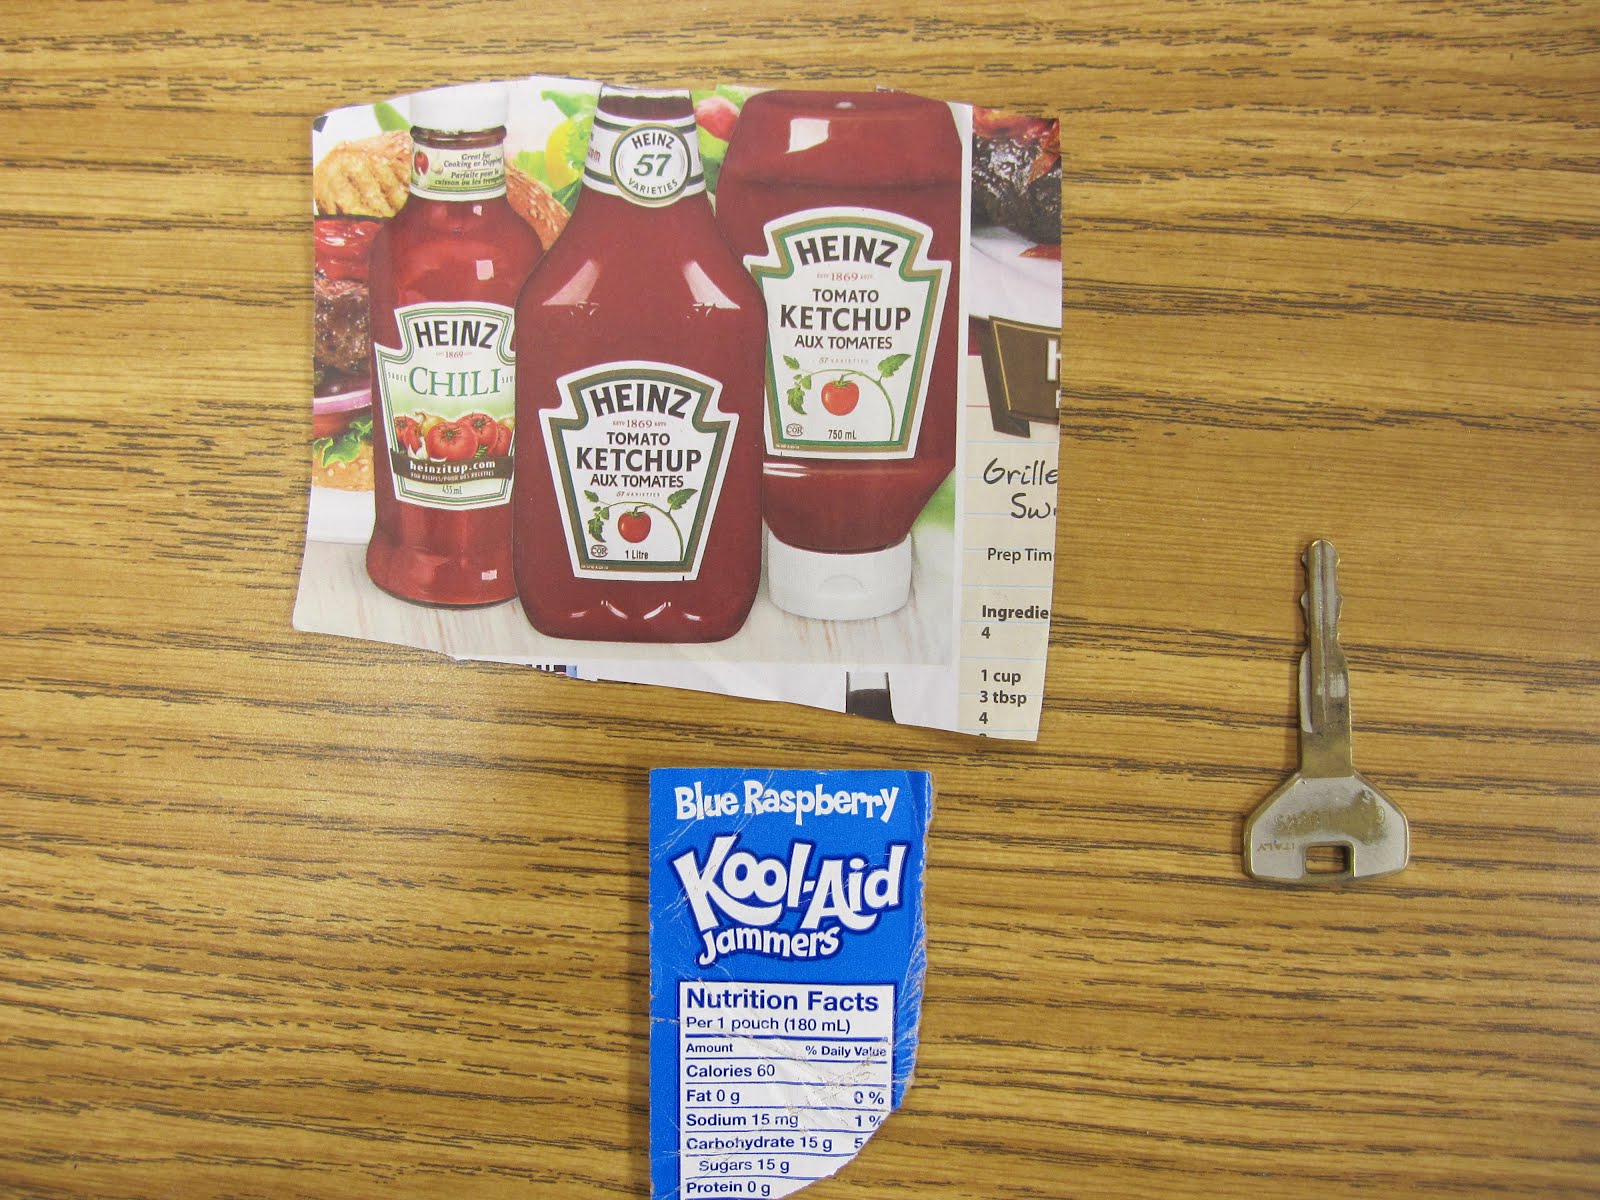
Every night, each student takes home a different alpha bag. An alpha bag chart is taped into the front of the students' clipboard and is used to track what bags have been taken home. Once the student takes home the alpha bag, he works with his parent to practice the letter and its sound and read the letter book. Then, the child and his parent add a small item or picture that begins with the letter. The picture above shows some of the items that have been added to the K bag: a picture of ketchup, a Kool-Aid label, and a key. Students and parents understand that objects added to the bags may not be returned.

The next kindergarten morning, students place their completed alpha bag at their table spot. After circle time, they have the opportunity to share what they added the previous night. Each student tells us the letter she has. We practice the letter sound and its action. We also identify if it is a lip popper, tip tapper, etc. from the Lindamood LiPS program. The student shares the object/picture that she added to the bag, and we check to make sure it begins with that sound. It takes approximately one minute per bag to share, and it is time well spent. The families and I notice a huge improvement in students' letter-sound knowledge in the months we do alpha bags.

Wednesday, April 25, 2012

Beginning, Middle, and End

My student teacher taught a terrific lesson this morning in ELA on beginning, middle, and end. She began with the nursery rhyme "Humpty Dumpty" on word cards in the pocket chart. The students did shared reading of the nursery rhyme several times, then rebuilt the nursery rhyme in the pocket chart. Pictures from the nursery rhyme were sequenced and identified as beginning, middle, and end. Next, my student teacher read the book "Our Tree Named Steve" by Alan Zweibel. Here are some of the tools she used:

A Classic Sesame Street Video from YouTube on Beginning, Middle, and End

SMART Notebook file: Race Track for Beginning, Middle, and End
As the story progressed, the students moved the car from beginning, middle, to end. Pictures from the story were scanned and placed above beginning, middle, and end in the Notebook file.

Junior Kindergarten Beginning, Middle, End Response Sheet
Junior Kindergarten students drew a picture from the story, explained it to an adult, then circled beginning, middle, or end to indicate where their picture came from in the story.

Senior Kindergarten Beginning, Middle, End Response Sheet
Senior Kindergarten students drew a picture from each part of the story. They printed letters, words, and sentences to match their pictures.

Our Tree Named Steve